Text, but rotation preserves the original layout bounds, which often leads
to incorrect width and spacing.
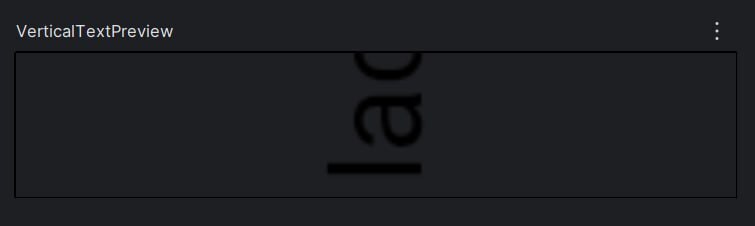
If we simply rotate a Text, the layout still uses the horizontal width, causing the text to be
visually clipped when rendered vertically:
Text(
    text = "Vertical Text!",
    modifier = Modifier.rotate(270f)
)
Which results in the following layout:
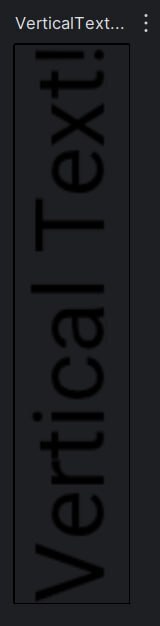
To fix this issue, the following composable renders text vertically by rotating and laying out each character individually, adjusting layout bounds so the width behaves as expected:
Implementation
In this case, each character is rendered as a separate Text and rotated individually. By applying the rotation per character, we avoid treating the entire string as a single horizontal block, which allows the layout to size and position each char correctly in a vertical flow.
val reversedText = remember(text) { text.reversed() }
Column(
    horizontalAlignment = Alignment.CenterHorizontally,
    verticalArrangement = Arrangement.Center
) {
    reversedText.forEach { char ->
        Text(
            text = char.toString(),
            modifier = Modifier.rotateVertically(),
        )
    }
}
And rotateVertically makes the rotation layout-aware.
Modifier.rotate(270f) only affects drawing, so without additional work the layout would still use the
original horizontal bounds. This extension fixes that by explicitly re-measuring and re-placing the
rotated content.
private fun Modifier.rotateVertically(): Modifier {
    // Rotate the content
    // The rotate modifier applies a 270° rotation, affecting only how the text is drawn.
    val rotate = Modifier.rotate(270f)
    val adjustBounds = layout { measurable, constraints ->
        val placeable = measurable.measure(
            // Re-measure with relaxed constraints
            // The custom layout block measures the child with unbounded width and height.
            // This prevents clipping and lets the text report its natural size after rotation.
            constraints.copy(
                minWidth = 0,
                minHeight = 0,
                maxWidth = Constraints.Infinity,
                maxHeight = Constraints.Infinity
            )
        )
        // Swap width and height to match the rotated orientation and the child is re-centered.
        layout(placeable.height, placeable.width) {
            // Re-center the rotated content so it stays aligned within the new bounds.
            placeable.place(
                x = -(placeable.width / 2 - placeable.height / 2),
                y = -(placeable.height / 2 - placeable.width / 2)
            )
        }
    }
    return this
        .then(rotate)
        .then(adjustBounds)
}
In short, this modifier combines a visual rotation with a custom layout pass, ensuring that the measured size reflects the rotated content rather than the original horizontal text.
You can find the full code here.
If this saved you some time, consider starring the gist 🙏


